2015 was my first foray into the world of container ponds keeping (or “container ponding,” as I’ve dubbed it). Using what you would generally consider readily-available components for whiskey barrel pond keeping, I ultimately created 3 ponds for the season, each with its own concept and plan. My work certainly won’t win any awards or beauty contests (yet), but I found them to be immensely satisfying projects. The shelf pond, as I’ve come to think of it, was the most ambitious of the three.
Completing the Shelf Pond
As I left off in Part I, charging headlong into a DIY “shelf” for one of my container ponds allowed me to tinker and make mistakes, but ultimately I was able to find a solution. Equipping the pond, and aquascaping the pond (do we call it pondscaping?) was now a formality.

The shelf pond at left, filling, with another unfiltered but heated pond to the right.
As mentioned prior, I managed to situate my ponds close to a power source where I could actually run all my plugs into my garage, keeping them completely dry. With the success of the shelf, I found that I could hide the pond’s submersible heater underneath the shelf, completely out of sight.
For filtration, I opted to use a small submersible internal power filter made by Sicce, the Sicce Shark ADV series. More on how I implemented that in a moment.
I had sourced local basalt rocks as my main hardscape component. For a substrate, I opted to try inexpensive white play sand from the local hardware store.
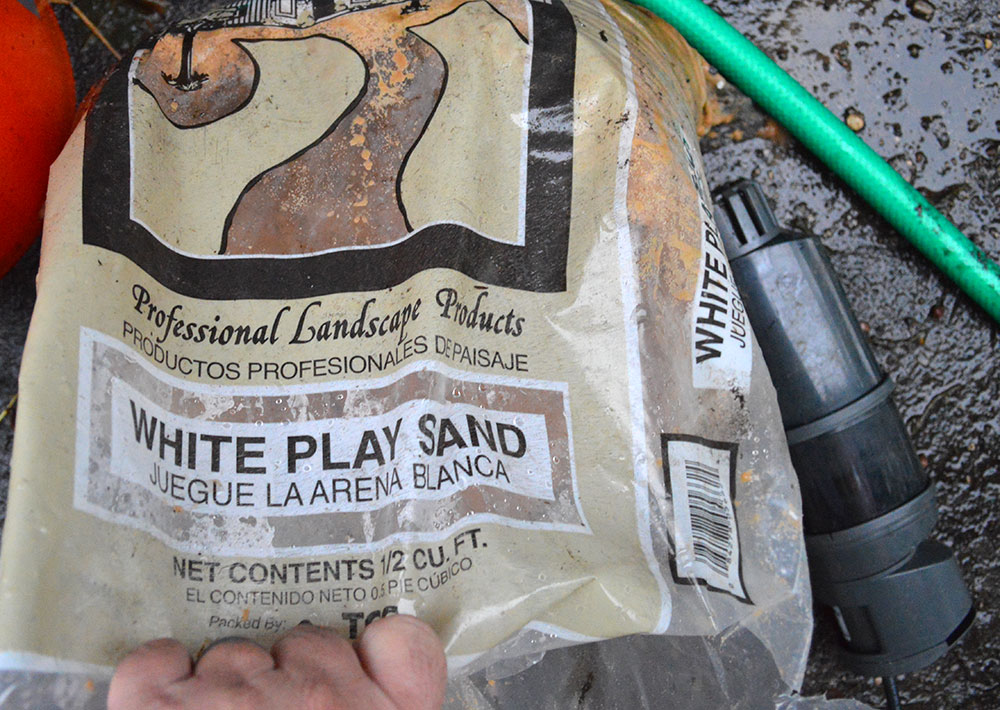
White play sand was selected for the substrate; the internal power filter, a Sicce Shark, sits to the right, ready to be installed.
In short order, I had the pond set up and filled. Rocks were piled on the shelf, and the black PVC legs, which were simply wedged into place, provided ample support for the heavy load. No sagging, no avalanches. Success!

A first run at an aquascaped fill.
Planting the Shelf Pond
I added the plants. My selections were based on what was easily accessible. Water Lettuce, Pistia stratiotes, is not an invasive species here and was readily available at any place that sold pond plants. It had grown and multiplied extremely fast in my temporary shallow pond, and was easy to divide: I simply broke the runners that connected daughter plants to their mother. I also included divisions of Blue Flag Iris, Iris versicolor, a native marginal plant that grows all over the place here.
The last and most abundant plant in the Shelf Pond is what’s often sold as Golden Moneywort or Golden Creeping Jenny. The actual plant is Lysimachia nummularia ‘Aurea.’ It’s worth noting that Lysimachia nummularia is reportedly listed as an invasive species in some states, but when researching this plant for my garden use years ago, it also was suggested that the Aurea cultivar is not as vigorous or overpowering as the normal, darker-green form. Ironically, while definitely a perennial, I’ve seen this plant sold as an annual in local nurseries. Of course, I had recognized the name “Moneywort” from my days as a youth, again, using plastic plants which are often modeled after the real thing. Ironically, another name, Lloydiella, also seems to crop up around this plant in aquarium circles, where it’s been long used as a stem plant. Pond keepers might even use it as a marginal plant. It turns that out this fast-growing ground-cover from my garden can pretty much grow anywhere and do anything (I use it as a floating plant in the other container pond, where it grows equally well).
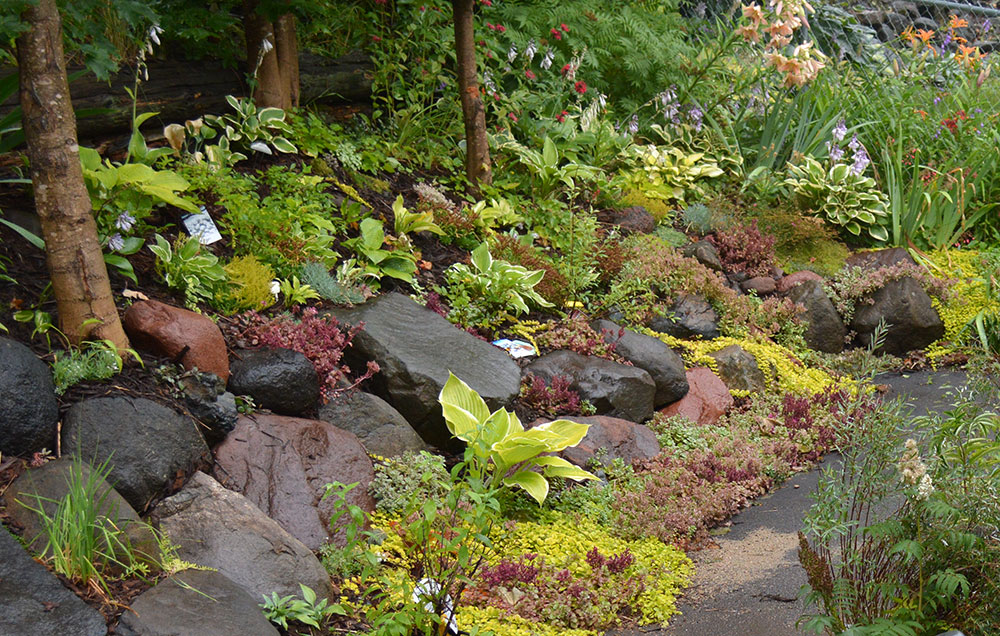
Lysimachia nummularia “Aurea,” Golden Creepy Jenny or Moneywort, is a welcome part of my gardens; it stands out dramatically alongside “Dragon Blood” and “Tricolor” Sedums used as groundcover and border plants at the base of this hill opposite the container ponds. Who knew I was growing aquarium plants! I just take cuttings and throw them in my ponds?!
The trailing, creeping habit of the Golden Moneywort led to the idea of placing cuttings in between the basalt rocks to take root and then grow. I planned to allow the plant to fill in and trail down the exterior of the whiskey barrel, softening the lines and adding to the marginal-type environment I had created with rocks above the surface and rim of the pond.
As you can see in the image above, after the first fill, the water was pretty cloudy, so I drained the pond and refilled it again. As I worked on the design, I brought in the internal filter. My initial thought was that I could just hide it underneath the shelf as well. While I thought the light sand bottom would be beneficial from a viewing standpoint, I quickly realized it left very hard lines against all the darker elements around it. I added smaller basalt stones and pebbles to the substrate, which quickly made for a more cohesive look.

Refilling the pond and getting the equipment in place.
It’s hard to believe it took until early August to have my shelf pond set up, but it was worth all the effort!

The initially completed pond…not too far off from what I had envisioned in my head.

Time for things to grow in!
Upon completion of the pond, my mind turned to livestock. Because it is actively filtered and heated, I was wide open in my choices.
Ultimately, I stocked the pond with three species: Otocinclus affinis for algae control, captive-bred Corydoras sterbai as bottom foragers and scavengers, and for main focus, I selected to add a shoal of Black Phantom Tetras, Hyphessobrycon megalopterus. It was my hope that potentially the Otocinclus and Corydoras could spawn and produce offspring in the ponds; I wasn’t thinking about that as much with the Tetras.
The Still Pond

The still pond, set up and ready for betta breeding!
I’ve alluded to the other two container ponds; their plant selections included some other familiar varieties. The “still pond,” as I’ll call it, sat to the right of the shelf pond. It had a heater in this first season, but nothing in terms of water circulation. Basically, as I harvested Moneywort from my landscaping (I have to trim it back so that it doesn’t overtake other ground-covers and low-growing plants), I’d just throw the cuttings into the still pond. These grew extremely well as loose-floating plants. Java Moss, Vesicularia dubyana, was added as a loose clump to provide additional shelter lower in the pond, and Hornwort, Ceratophyllum demersum, as another free-floater to provide refuge for small fishes.
The goal of the Still Pond was to serve as a natural breeding space for a wild Betta species I had been keeping: Betta smaragdina “Guitar.” I added a male and several females. The hope was that, given the dense vegetative coverage, we’d see some juveniles grow up without much (if any) intervention on my part. The floating Styrofoam cup cut in half? Some of you may recognize those from my shoebox betta breeding; they serve as nesting sites!
The Shallow Pond

The Shallow Pond as it “started out” in early August.
The Shallow Pond, which started out simply as a holding area for plants I had purchased, wound up getting a heater and acting as its own entity. It held a couple potted marginal pond plants I had purchased, unsure of whether I’d use them or not. These included Dwarf Papyrus (Cyperus prolifer), Iris louisiana ‘Black Gamecock,’ and Golden Variegated Sweet Flag (Acorus gramineus ‘Ogon,’ a bog plant sometimes sold in the aquarium trade as an aquarium plant), all of which wound up living in their pots for the entire ponding season. A spare spring of Blue Flag Iris sat in this pond as well, looking for a different home that never materialized. Golden Moneywort floated in the pond. While I did not put a substrate into this pond, I did add a significant amount of leftover basalt rocks and pebbles.
I mentioned earlier that the shallow pond was never meant to run all season; it was really just a spare shallow liner I initially set up to hold plants while I was creating the other ponds. I should know by now that I’m a fish nut and an aquarist, which means that if it holds water, odds are I’m going to try to put fish in it. With the addition of a submersible heater, I added an F1 pair of Betta mahachaiensis, which, again, I hoped would breed and produce offspring that would grow up in the pond with their parents. Once again, note the Styrofoam cup, wedged between the pots in the background to provide a nesting site.
Side Benefits of Container Ponds
Some of you may have noticed another set of leaves in the still pond above; they belong to a spring of Bleeding Heart, Lamprocapnos spectabilis (formerly Dicentra spectabilis). When digging and dividing plants, on occasion I’ll get a growth without roots; I had it happen with Hostas and other perennials. Rather than just toss the growth in the compost, I found that sticking it into the rockwork of the container ponds often allowed the small plant to stay hydrated and send out roots (much like you’d do with any other cutting), after which it could be potted up or planted somewhere else in the gardens. Yes…another selling point for a container pond on your property (I realize at times spouses need convincing).
Coming in Part III
Next up, I’ll look at the remainder of the 2015 container “ponding” season up here in Duluth. I’ll share my successes and failures with you. If you can believe it, I still had water in one as late as November 18th, 2015, and I have the photos to prove it!


Where did you get the shelf from?
The shallow liner which holds around 10 gallons nests inside the full version (about 20 gallons). Cutting a shallow liner in half, and using the PVC to support it in the middle, created the shelf. You can see it in Part I.